Thursday, September 30, 2010

Picture Day! A Whole School Mural Project

This week all Currier students have been working on drawing "head-to-toe" self portraits.  Kids were asked to picture themselves holding something important to them.  They colored their portraits with markers, crayons, and colored pencils, and then carefully cut them out.  I collected their little figures and amassed them on a sheet of white craft paper and posted our very first whole-school portrait project on the big board near the front door at Currier today.   I tried to take a photo, but the picture doesn't do it justice...this is really a special piece of art.  It's like a Where's Waldo of joyful innocence. 
I would like to thank Natalie at http://elementaryartfun.blogspot.com/ for sharing this wonderful idea.  Thanks, Natalie!  Thanks, thanks, thanks!  This was so much fun.
Oh and did I mention...our school theme this year is:  "High levels of learning for ALL students."  (each and every wonderful one).

Wednesday, September 22, 2010

Nature Printing on Day Two: Nature Sketchbooks


We revisited our great big leaf print rubbings today to try out two more printmaking techniques. For the first round, students worked with a partner.  One student was the printer, and the other was the helper.  We tried using the leaf as a stencil.  The printer decided where to place the leaf print.  The printer placed the leaf vein side up on the paper.  The helper placed a finger in the center of the leaf to hold it still.  The printer painted off the edge of the leaf to make the print.  When the print was complete the partners switched roles.
After a few prints, when the leaf was almost completely covered with paint and there was barely enough room for that little finger, we noticed we could flip the leaf over, cover it with scrap paper, and press out a beautiful print.  We also noticed we could combine these two methods. 
When students return to the art room next week we'll be making rubber band sketchbooks.  Our leaf prints will make a beautiful cover.  Students are really excited about the books and so am I.
Our book covers are cut to size 12" X 6 1/2", which is then folded in half.  The pages shown are plain white copy paper, but you could use any kind of scrap for the pages.  The pages measure slightly smaller than the cover, are folded in half and bound with a rubber band.
I hope our sketchbooks inspire lots drawing from nature.  Maybe a homemade twig pencil would be a great accompaniment.  We'll keep you posted.

Friday, September 17, 2010

Inspired by Nature


We begin the year by thinking about the different ways that nature influences and inspires art and artists.  As our older students explore the Land Art Movement, the younger artists are busy making autumn leaf prints.  These projects are still in progress, and I'll post more photos as the work evolves.  Below you can see primary students collaborating on a large leaf print rubbing.  We made the rubbing by arranging leaves, vein side up, under a large sheet of paper.  We taped the edges and used homemade chunk crayons to make this rubbing.  The kids really loved the rainbow-colored chunk crayons which are, of course, made by melting the bits and pieces of old crayons in a muffin tin.  (350 degrees, 10 minutes). We added a watercolor resist to our leaf print rubbing and then set it aside to dry.
When we return to the art room, we'll explore two more ways of leaf printing on these large papers.  Then we'll cut them up to make something special.

Friday, September 10, 2010

Jim Hensen

Jim Hensen teaches kids to make simple puppets. This is epic.
I'm going to try it, how about you?

Thursday, September 9, 2010

Art and Nature

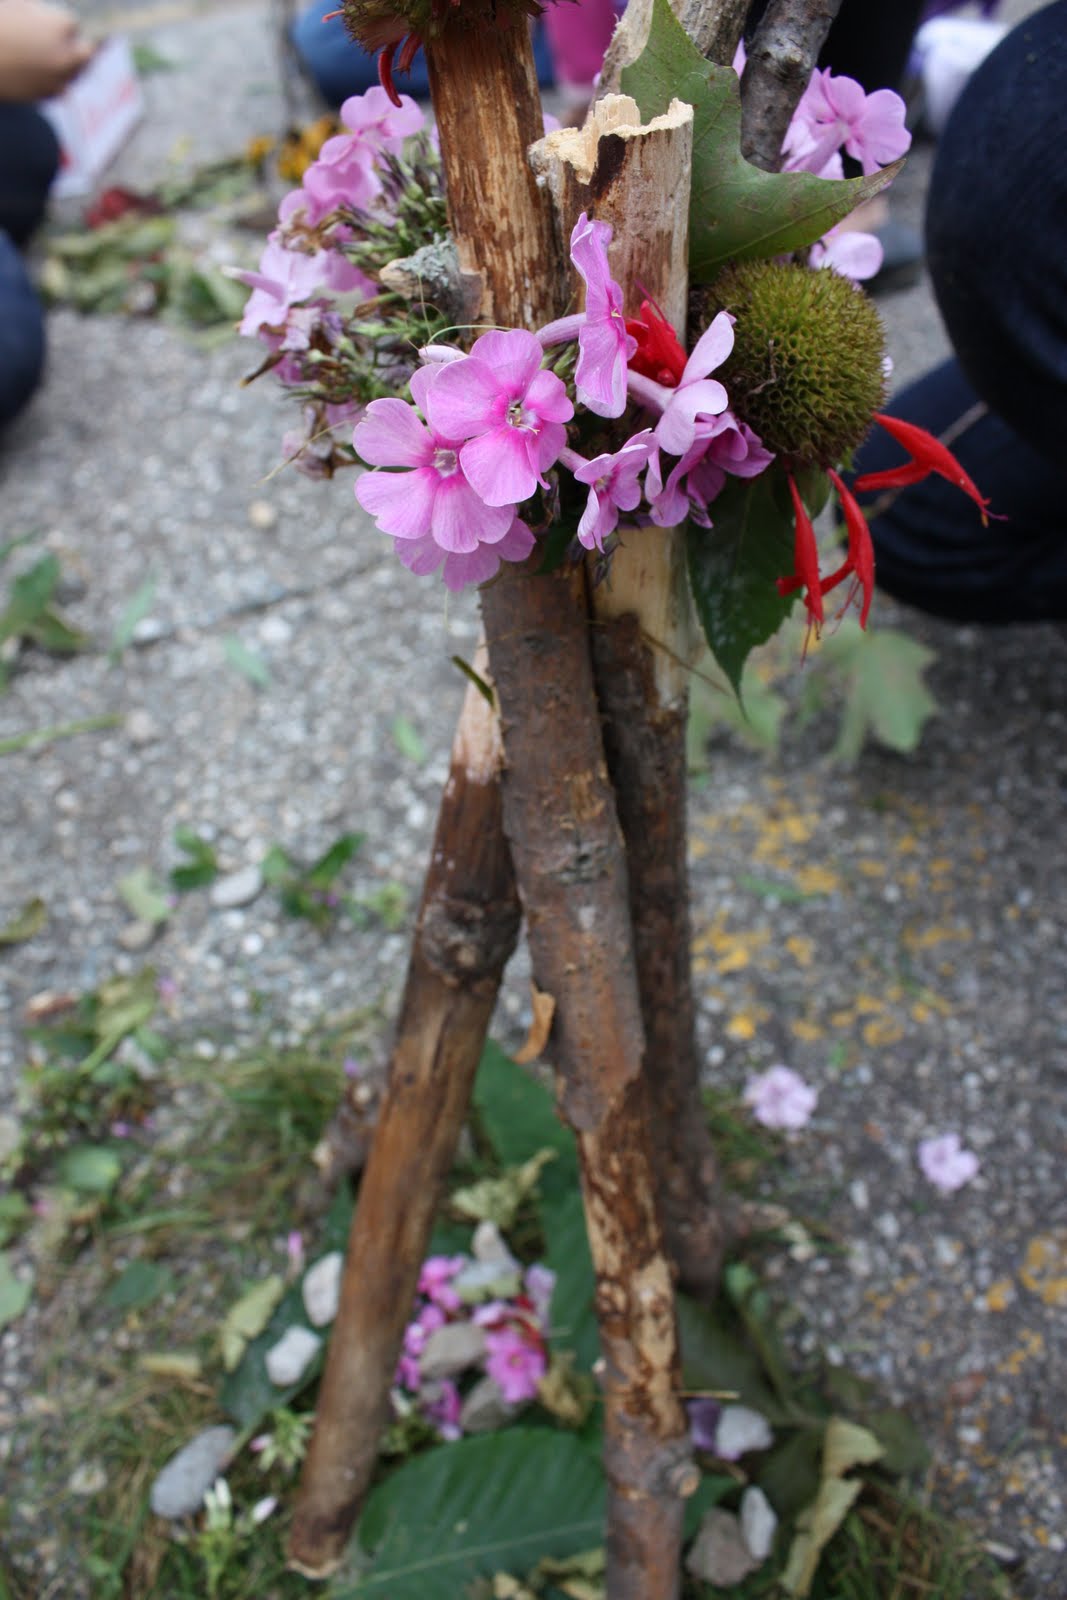
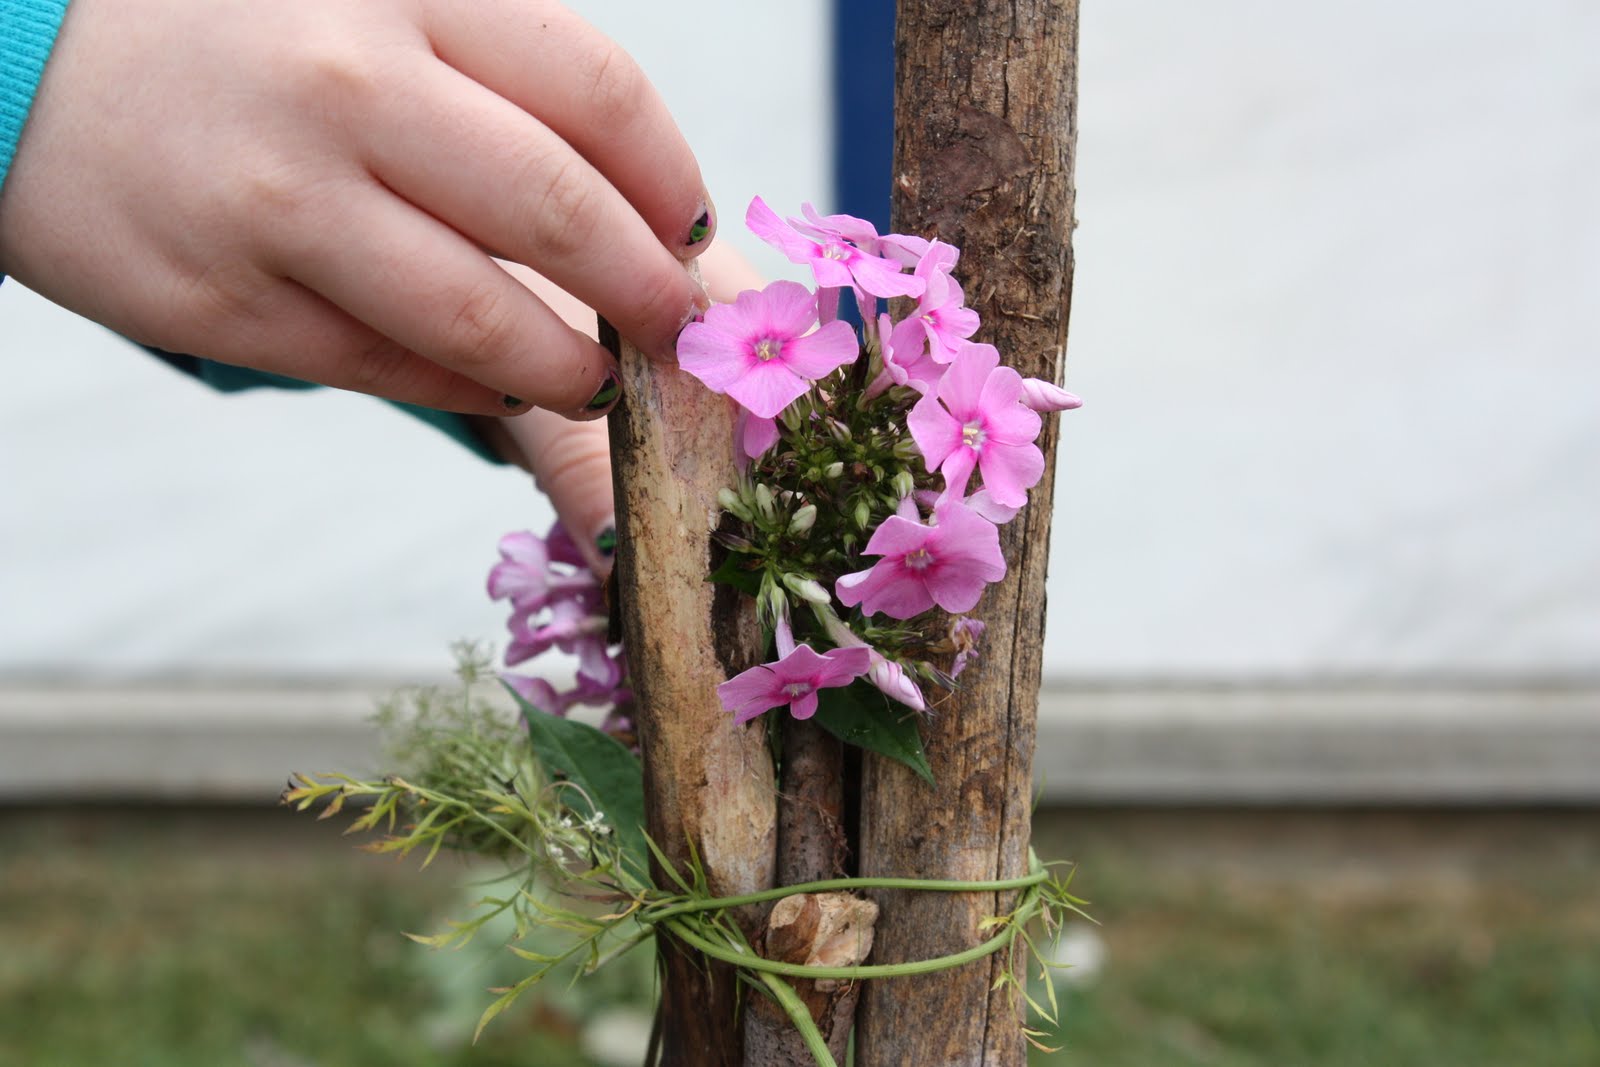
I've wanted to do project inspired by the work of Andy Goldsworthy for a long time, but in Vermont it can be tricky.  Wait too long and everything falls and blows away.  Last year we ended the school year by watching "Rivers and Tides", after a quick review my students were all set to go.  These pics are sixth grade at Currier Memorial.  I'll have more photos next week and I'll post them as I get them.  Below the photos you'll find a great link to "Goldsworthy Elements of Art".  I did a quick review of the elements with my students, then they analyzed Goldsworthy's art in terms of the Elements.  They were brilliant at this.  Very impressive!


 Look at this.  It's as tall as they are.
                                                       
 Here's the link to the Elements of Art Goldsworthy style that I used: 
http://www.writedesignonline.com/history-culture/AndyGoldsworthy/overview.htm

This is the criteria we used to assess our work.
The work of art...
is carefully constructed
reflects your understanding of the work of Andy Goldsworthy and Environmental Art
is made from natural materials
is built in the designated area in the designated time
is photographed
is accompanied by an artist statement that explains how your work is similar to and different than the work of Andy Goldsworthy, an the process you used to construct your work.

More photos....


Wednesday, September 8, 2010

Primary Warms Up with Lines


Primary students are warming up with lines today.
Lines are so very simple, yet they carry so much meaning.   After talking about, and naming the many kinds of lines we know.  We looked at "A Child's Game" by Paul Klee.  Paul Klee makes fabulous lines.  We read a little bit about the painting in the book Art for Children. We learned that this style of painting is called abstract.
Today we worked with black paint and white paint.  We painted right on top of the Helen Frankenthaler-style paintings we made last week.  We decided that our paintings could look real or our paintings could be abstract.  Our goal was to show at least five different kinds of lines.   
Art for Children is a wonderful series of children's books. Each book features the work of a different artist.
 And here is Paul Klee's painting called "A Child's Game."Can you see the little girl?  Can you see the goose?


Tuesday, September 7, 2010

Meet Helen Frankenthaler

I used this Helen Frankenthaler video with my primary students after introducing wet into wet watercolor painting techniques today and it really went well.  My goal for my primary kids is to get them up and painting right away.  In this lesson I focused hard on teaching the routines and procedures we use when we paint, how to use a watercolor set, and how to care for the brush, you know the drill.


I had a demonstration table set up and showed them a couple ways of laying the paint onto the paper.  I showed them how to make long feathery strokes, how to make dabs and dots with their brush.  We watched the colors bloom on the page and blend into each other.  We looked at the color wheel and some decided to set the paints down in "rainbow order".  We found some beautiful classical music on the internet and I'm not kidding you, you could have heard a pin drop.  It's so much fun moving the brush to the music.

I had the Frankenthaler video set to go.  As our painting time came to a close I fired it up.  I asked the kids to watch it and notice similarities and differences between Helen Frankenthaler's paintings and the painting they did today.  While they were watching I helped move their creations to the drying rack.

Next week we'll talk about and practice making and naming different kinds of lines.  Their final composition will be made on top of these using black paint, white paint, and a variety of lines....stay tuned.  That was the plan.  Some of these look perfect the way they are!