Monday, February 28, 2011


Saturday, February 26, 2011
More Inspired by Grandma Moses

With repeating house shapes, this artist leads the viewers eye up the path and into the space she created in her painting.

More work-in-progress landscapes inspired by Grandma Moses. The first two are Currier sixth grade examples.We're really working the watercolors. This artist's work demonstrates careful planning in the sequence in which she applied her paints. Working slowly and with a plan is key to avoiding color bleeds.
With repeating house shapes, this artist leads the viewers eye up the path and into the space she created in her painting.

Rhythm and movement are created by combining flowing lines and repeating sets of shapes in this fourth grade artist's landscape.

Kids will be putting the finishing touches on these this week. Nice job Currier!

Saturday, February 19, 2011
Anna Mary Robertson Moses

 |
| grade 2 work in progress |

We analyze the work of Grandma Moses in terms of subject, space, and style. We work out the rules of simple perspective (size, placement, overlap) and identify examples.

We brainstorm a familiar scene and complete a rough draft. We begin work on our folk art painting.

Friday, February 11, 2011
Phyl's Valentines

Kids loved it! Quick and easy. We skipped the Mod Podge step that Phyl suggested, because I wanted to hang them in time for the big day.

Check out the complete plan at Phyl's blog There's a Dragon in My Art Room
Thursday, February 3, 2011
Ink and Bamboo Brushwork--Third Grade
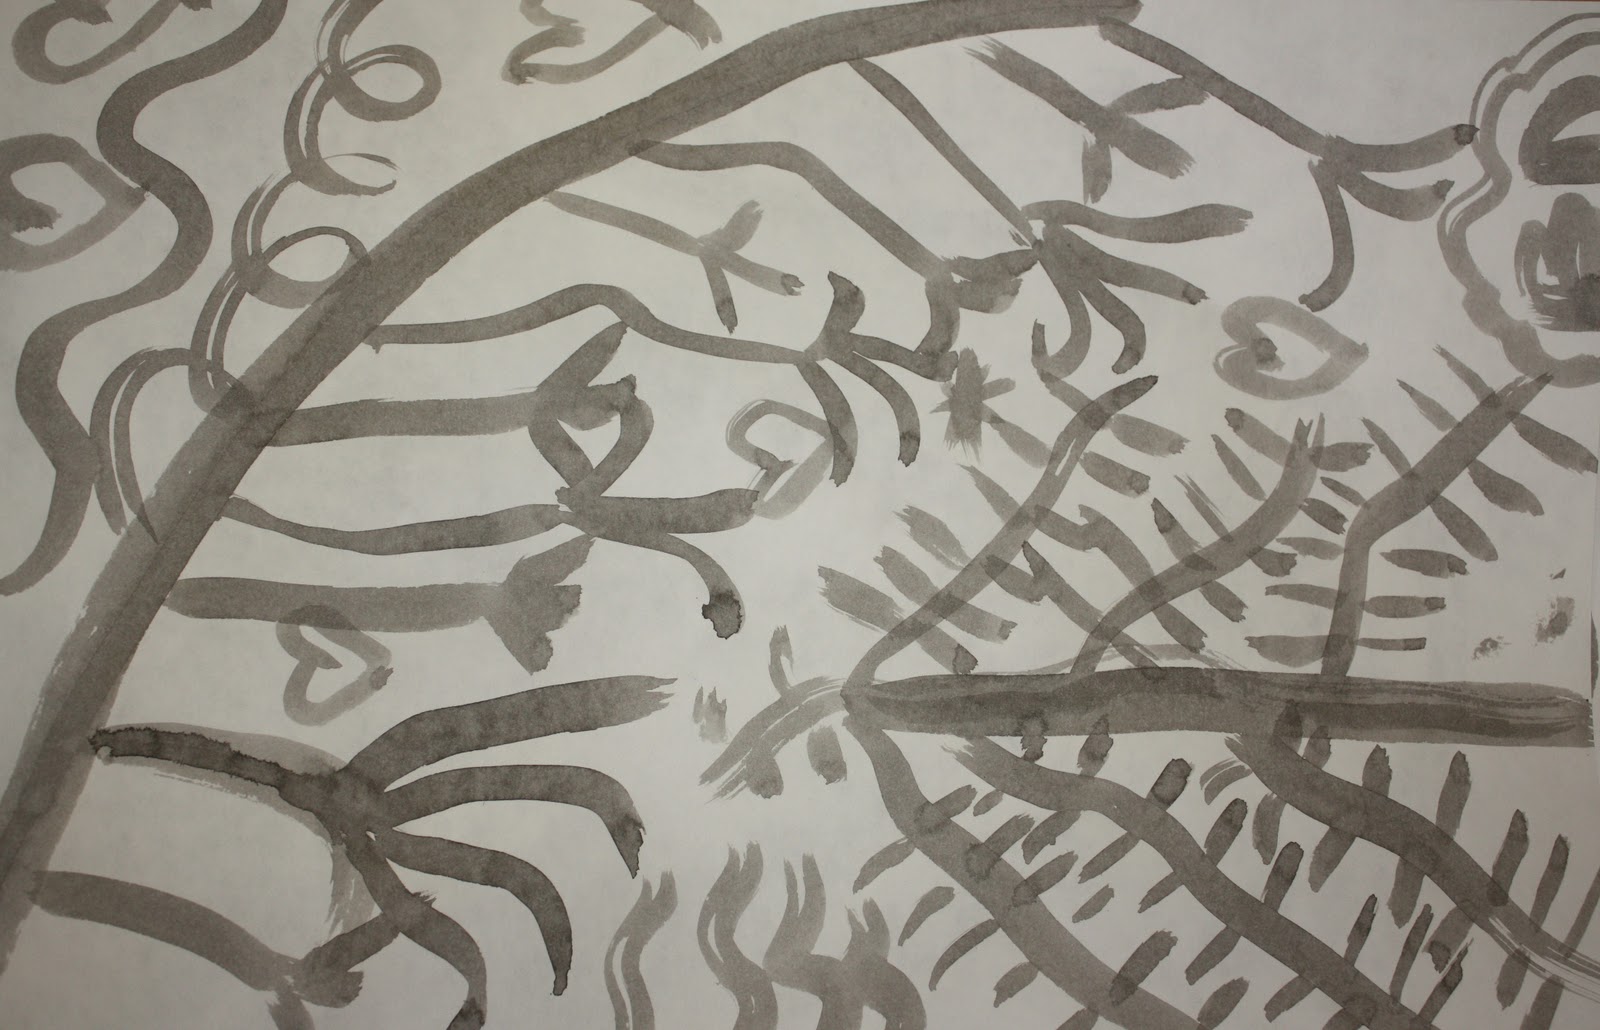

Chinese New Year Celebration begins this week, and to get in the spirit we broke out the ink and bamboo brushes. We looked at some some examples of artwork in this style, then students took a turn exploring the kinds of lines they could make with the brush. Artists were asked to complete two practice sheets and then to develop their best ideas on a heavier weight piece of drawing paper.

Now that our paintings are dry students will be using modeling clay and red paint to make the stamp called a chop to highlight our design.

After stamping our bamboo brush paintings, these paintings will be used to make Chinese style lanterns. We will hang them to celebrate the new year. These are third grade examples.


Saturday, January 29, 2011
A Hint for Cleaning Oil Pastels


Last night I discovered that olive oil works pretty well to restore old craypas by melting away the grime. To start I set out a splash of olive oil in a little bowl or cup. Each craypas got their tip dunked into the oil and then wiped off on a paper towel. I tackled all the warm colors first, then went for the cool colors. Not as easy as the chalk and rice trick, but effective.
Next step, teach the kids how to do this task.
Okay so, I have my pastels sorted by color into a muffin tin right now, but am looking for a better system. The original boxes are long gone. So tell me. How do you store your oil pastels?
Tuesday, January 11, 2011

Subscribe to:
Posts (Atom)