Saturday, February 19, 2011
Friday, February 11, 2011
Phyl's Valentines
Here's a special Valentine for my friend Phyl. She posted this lesson on her blog last week and it sounded like so much fun that I couldn't wait to try it. I modified her plan a little, but essentially it's the same. For this lesson, each child got a small piece of paper to use as a template. (I cut a piece of copy paper into fourths). I showed my first and second grade artists how to fold and draw half a heart beginning and ending on the fold. Once their heart was drawn they were asked to cut it out. When most were ready the next step I showed kids how to place the heart in the middle of a piece of bogus paper and trace around the heart. Around my first heart I made "copy cat" lines to create a concentric design that moved out to the edge of the paper. I asked kids what could go in the spaces (colors and patterns). I told kids that there was a special trick to this chalk drawing and when they were ready they were to throw away their scraps and line up at the sink. Each student chose three colors from the chalk box and carried them on a tray to their place. Then they came back to the sink area for their paper. Paper was soaked under the running water to get it nice and wet, and spritzed from a spray bottle as the class progressed. Kids were encouraged to color completely. Chalks were swapped with neighbors. When done work was placed on the drying rack and chalks were returned to the box.
Kids loved it! Quick and easy. We skipped the Mod Podge step that Phyl suggested, because I wanted to hang them in time for the big day.
Thanks, Phyl. Happy Valentine's Day everyone.
Check out the complete plan at Phyl's blog There's a Dragon in My Art Room
Kids loved it! Quick and easy. We skipped the Mod Podge step that Phyl suggested, because I wanted to hang them in time for the big day.
Thanks, Phyl. Happy Valentine's Day everyone.
Check out the complete plan at Phyl's blog There's a Dragon in My Art Room
Thursday, February 3, 2011
Ink and Bamboo Brushwork--Third Grade
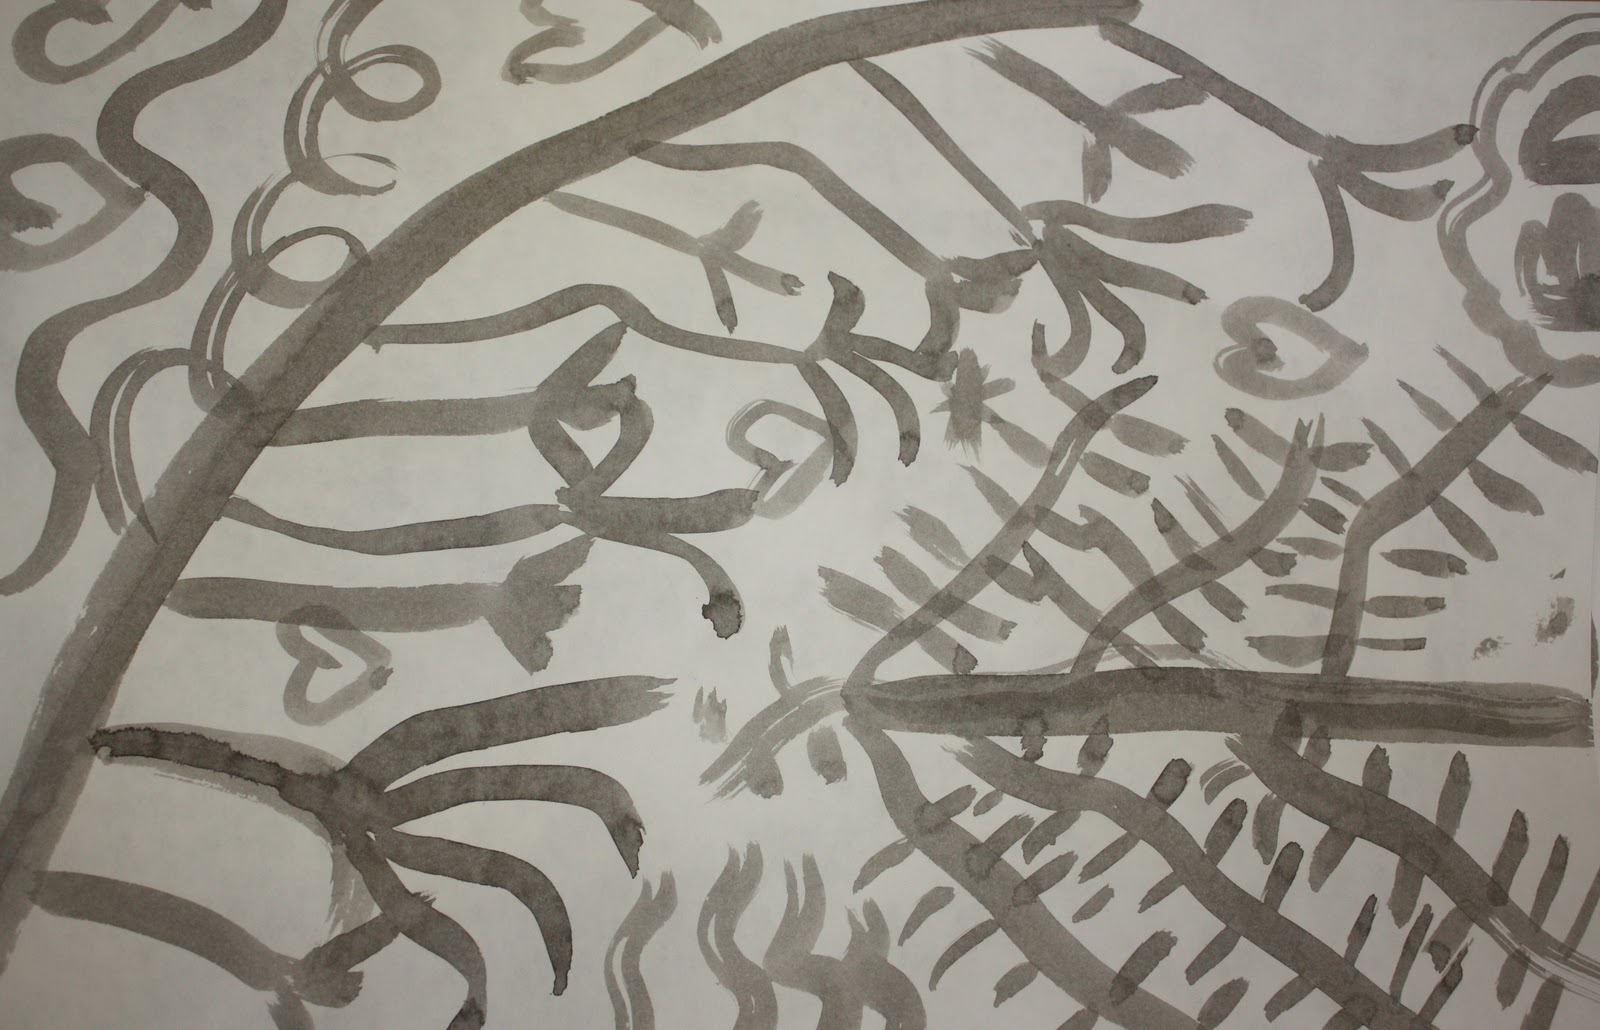
Chinese New Year Celebration begins this week, and to get in the spirit we broke out the ink and bamboo brushes. We looked at some some examples of artwork in this style, then students took a turn exploring the kinds of lines they could make with the brush. Artists were asked to complete two practice sheets and then to develop their best ideas on a heavier weight piece of drawing paper.

Now that our paintings are dry students will be using modeling clay and red paint to make the stamp called a chop to highlight our design.
After stamping our bamboo brush paintings, these paintings will be used to make Chinese style lanterns. We will hang them to celebrate the new year. These are third grade examples.
Saturday, January 29, 2011
A Hint for Cleaning Oil Pastels
I love the look of oil pastels, but haven't done much with them this year because our oil pastels are in such bad shape. My budgets are tiny and I order a few new sets each year, but there are never enough to go around. As time goes by the new ones find there way into the big box with the old ones and before long, the new ones look just as bad as the old ones. Nothing to me is as frustrating as watching a kid encounter that unexpected muddy streak in the peach or the pink. It's so demoralizing.
Last night I discovered that olive oil works pretty well to restore old craypas by melting away the grime. To start I set out a splash of olive oil in a little bowl or cup. Each craypas got their tip dunked into the oil and then wiped off on a paper towel. I tackled all the warm colors first, then went for the cool colors. Not as easy as the chalk and rice trick, but effective.
Next step, teach the kids how to do this task.
Okay so, I have my pastels sorted by color into a muffin tin right now, but am looking for a better system. The original boxes are long gone. So tell me. How do you store your oil pastels?
Last night I discovered that olive oil works pretty well to restore old craypas by melting away the grime. To start I set out a splash of olive oil in a little bowl or cup. Each craypas got their tip dunked into the oil and then wiped off on a paper towel. I tackled all the warm colors first, then went for the cool colors. Not as easy as the chalk and rice trick, but effective.
Next step, teach the kids how to do this task.
Okay so, I have my pastels sorted by color into a muffin tin right now, but am looking for a better system. The original boxes are long gone. So tell me. How do you store your oil pastels?
Tuesday, January 11, 2011
Monday, January 3, 2011
The Penguins Are Coming!
It's been fun watching third and fourth graders dive right into this penguin work. The students began with by completing a rough draft to get their ideas down on paper. I was interested to see what they already knew. We took a break to watch some lively penguin videos, looked at some photos of penguins, and did some guided drawings as well. Then, kids took their ideas to a large (18X24) piece of paper. They drew the outline with a light colored chalk then painted in the details. Beaks and feet were colored with chalk pastels. We planned to cut these guys out and place them on a snowy landscape. But now I'm thinking they might look cute as a free-standing flock that could roam around the school. Yes, I think that could be interesting. I'll let you know what we decide.
Sunday, January 2, 2011
Subscribe to:
Posts (Atom)